


Home → Conservatories → Conservatory FAQs → How to fit blinds in a conservatory
Depending on how confident you feel when it comes to DIY, you may either want to hire a specialist fitting company or fit the conservatory blinds yourself. This guide is perfect for those who want to do the work themselves. We’ll run through how to fit your blinds in a step-by-step guide below – this process is largely the same whether you’re fitting vertical, Venetian, or roller blinds.
Please note: KLG Rutland cannot accept any responsibility for damage caused to your conservatory by attempting to fix conservatory blinds yourself. This should not be attempted by individuals who are not accustomed to DIY tasks, in particular using a drill.
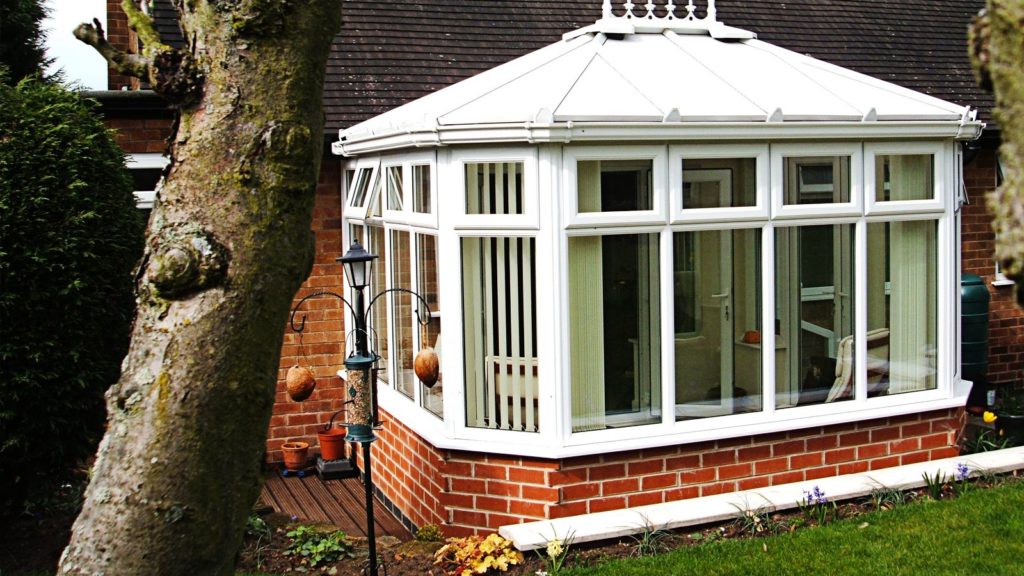
Measuring your conservatory windows
First things first, you’ll need to measure the window space. Decide how much of the window you want to cover: some people choose to cover the entire frame, whilst others prefer just to cover the pane itself. When measuring the width and height of your windows, make sure that you measure the inner recess if you just want to cover the pane and the outer recess if you want the whole window covered.
Roller blinds come with a bracket that houses the rolling mechanism and the blind itself. The brackets for roller blinds tend to be wider than the width of the blind itself, so factor this in when you’re taking your measurement – make sure that the bracket will fit into the desired space, not just the blind!
For those who are buying made-to-measure blinds, consult the manufacturer regarding the dimensions that you need to measure. The manufacturer won’t take responsibility for any issues with the size of your blinds that arise from the measurements you have taken.
How to fit blinds in a conservatory
Follow these steps to fit blinds in your conservatory.
1. Mark on the hole where you’ll attach the bracket to the window.
This is the most important stage of fixing your blinds. You’ll need to drill into the frame of the window in order to attach the bracket for your blinds. Clearly, you want to avoid the windowpane, which will extend beyond the visible section into the frame itself.
With most windows, the pane should only extend just past the beading (the black plastic that runs around the edge of the glass). There should be no windowpane within the outer section of the frame, so you should mark the position of your holes in this area using a pen.
Make sure that your marks are level with each other on either side of the window (use a long ruler for this). You should also ensure that the central point between the brackets on either side aligns with the centre of the window.
2. Drill the holes for the bracket
Drill holes into the window frame where you made your marks in step one. Be careful when doing this: don’t press down too hard with the drill, but rather allow the drill to do the work. Using excessive force when drilling can cause the frame to crack.
3. Line up the bracket with the holes and screw it in
Pick up the bracket and align it with the holes that you’ve just made. Insert screws into these holes so the bracket remains up, but don’t tighten the screws all the way just yet.
4. Make sure the bracket is level
Using a spirit level, ensure that the bracket is level where you have positioned it (you checked that your markings were parallel in step one, so this shouldn’t be an issue).
5. Tighten up the screws
Once you’ve checked that the bracket is perfectly level and you’re happy with its positioning, you can fix it to the window properly by tightening up the screws.
6. Attach the blinds to the bracket
The final stage is to attach the blinds to the bracket. Most blinds can be affixed using the clips provided (check the manufacturer’s instructions if this is not the case).